
When you’re a small business, getting your products to your customers smoothly is crucial. You want to avoid any shipping mishaps like contents breaking during transport as much as possible. You also want the packaging to be creative and memorable to open. So let’s go over the right techniques so that you can pack orders for your small business as efficiently and economically as possible.
How To Pack Orders For Small Business
How to pack orders for your small business will first depend on the type of item that you’re planning to ship. If you have clothing or other cloth items that cannot break, a simple tissue paper or clear poly bag in a designed poly bag is all you will need. The presentation can make a big difference when it comes to opening a package. You can add personalized touches with stickers or ribbons.
If there are designs on the cloth that you prefer better protection for, you can opt for a padded poly bag instead of the regular poly bag. For anything breakable or items that have parts that you would like to protect against crushing or breaking, you will want to ensure that you are using the right packing techniques. Let’s look at the steps you need to check off.
But first, there are more sustainable options for the products that we will mention. You can check out this article here for sustainable packaging.
1. Start With Protecting Your Product
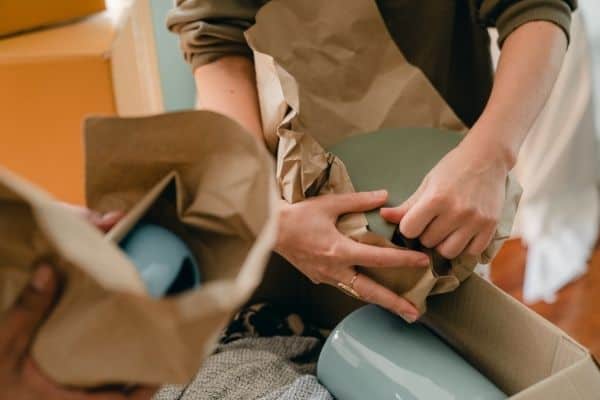
The most important part of packing any orders is to protect your item. All shipping carriers are known to often throw packages on and off the trucks during the transport process. If you’re shipping glass products such as candles, vases, or cups, you will want to first stock up on bubble wraps, foam wraps, or craft paper. You will need to encase the item by padding them with a wrap as the first layer of protection.
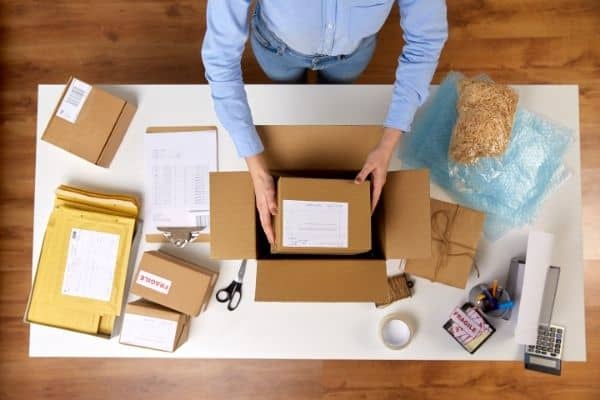
2. Choose The Right Size Box Or Bag
Next, you will need to choose the right size box or bag. You want to choose a size that will give you enough room around the item to add fillers. But you don’t want to choose a box that’s too big where it will require too many fillers and add to the shipping cost due to the dimensions.
For the earlier mentioned glass items, it is a good idea to put them in a box that fits the content with the wrap. It will provide a second layer of protection. You can place this box inside of the primary shipping box with fillers around it. Think of mugs and plates that you order online. They will usually come in their own box when you open the box that the items are shipped in.
Choosing the right box or bag is also important when it comes to claiming insurance with certain carriers. For example, UPS has strict rules on how many inches of padding must be around a laptop if you were to go after an insurance claim. Consider the value of your item and how much it would cost to replace it in case it breaks during transit.
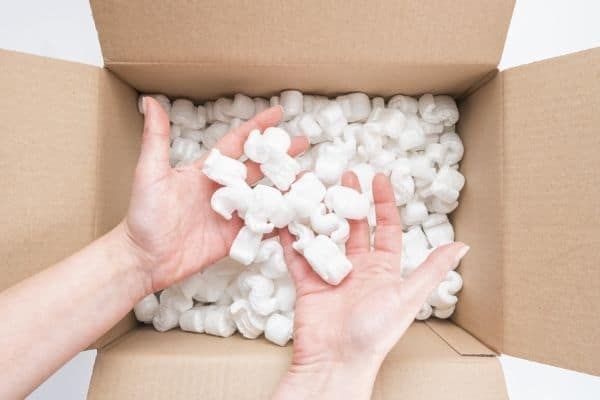
3. Add Fillers
With the space around the item in the box, you will want to have other fillers that do not add weight. Air pillows, craft paper, or packing peanuts are all good options. If you’re shipping large items, investing in an air pillow machine is a great business expense that will make packing much smoother.
For smaller items like beauty products, you can opt for crinkle-cut craft paper for both protection and visual presentation. Your main goal here is to make sure that nothing inside the box moves when you close it. You want to restrict content movement as much as possible.
4. Quality Check & Paper Work
Once you have properly protected the item and added fillers, you can move on to a quality check. This can include making sure that all items in the order are included in the box. You can check them off using a packing slip to include in the box if you wish. You can also include other paperwork such as an invoice, a thank you note, or a business card. Once everything is included in your package, you can tape up your box.
5. Weigh Your Package
When it comes to running a business where you have to pack orders and ship them to customers, a shipping scale and measuring tape are an absolute must. They do not cost much and will save you money in the long run from being charged if you guess your packaging’s details. Or worse, you would want to avoid the post office charging the customer the postage difference in order to get their package.
Once you know the packaging details of your most commonly shipped items, you can streamline your shipping process. We will go over that in the next step.
6. Buy Postage
While you can buy postage from your local post office, at USPS.com, or any other shipping carrier, they will cost more. Consider joining a shipping software like Pirate Ship or Shippo. They are both free to join and you will get commercial rates that will give you discounts on your postage cost. The savings definitely add up. It is a must for small businesses.
Both Pirate Ship and Shippo integrate on many online selling platforms and marketplaces like Shopify, eBay, and Etsy. Pirate Ship only offers USPS while Shippo offers discounts on USPS, UPS, FedEx, and DHL express. We have a full step-by-step tutorial on how to ship with Pirate Ship here. We also have a comparison of Shippo and Pirate Ship here.
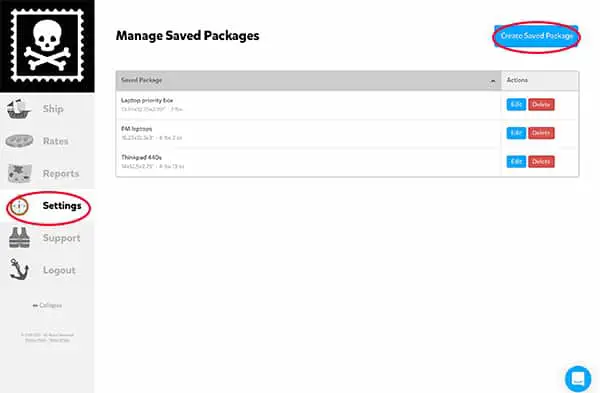
If you are shipping the same types of items, you can create and save a template for the most commonly shipped packages. So once those items are ordered, you can use the same weight and dimensions without having to enter them individually. Below is an example of some of our saved packages on Pirate Ship of items we ship often.
7. Print Your Shipping Label
In addition to your shipping material, another tool that will make packing orders smooth and efficient is a thermal printer. You will be able to print labels and not have to mess with tape or scissors. You can simply peel your labels and stick them onto your package. There are many thermal printers on the market and we have a full recommendation page based on your needs and budget.
8. Drop Off Your Package
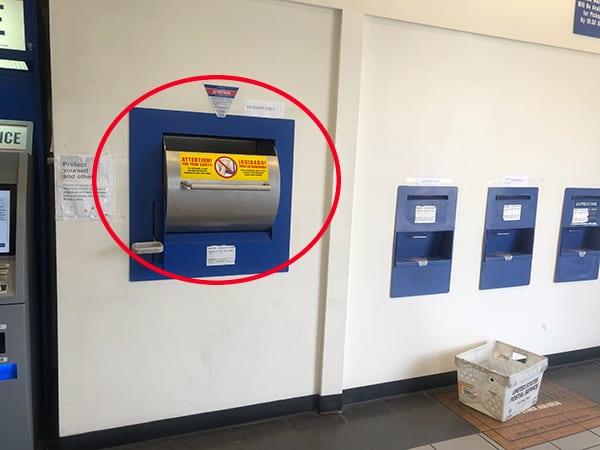
Dropping your package off is as easy as dropping them into the pull down drop off area by the self-serve kiosk at your local post office. Many post offices also have areas by the counter where you can drop off packages with labels. If you need receipts, you can scan them yourself at the self-serve kiosk or wait in line.
Another option is to drop them off at your local shipping service businesses. Many of these businesses take packages from multiple carriers all in one place. They will not be able to scan your packages but they are very reliable. We find that our packages track faster when we drop them off with them rather than at our local post office.
Last Tip: Don’t Forget To Claim Shipping Insurance
Shipping mishaps can happen, even when you have done all your can to properly pack orders for your small business. It could be that a package is lost or damaged. Make sure you are going after your built-in insurance claim to recuperate the cost. For Priority Mail and Priority Express, USPS has built-in insurance with your postage.
If you bought your postage from Pirate Ship, the amount is up to $100 for both services. If you bought your postage from Shippo or directly from USPS, it is up to $50 for Priority Mail and $100 for Priority Mail Express. First Class mail does not come with built-in insurance but you can purchase insurance for extra protection.
UPS also covers up to $100. We show you how to file a USPS insurance claim here. If the package is stolen, check here for tips to guide your customer on what to do. For more tips on how to save money on shipping, check this article here.